How to prepare a translation into any language?
In this article, you'll learn how to:
- prepare your own translation of Booking Engine and IdoBooking website in any language.
To start the configuration, go to the ADMINISTRATION> Language and translations tab in the IdoBooking panel.
Step 1: Download the file for translation
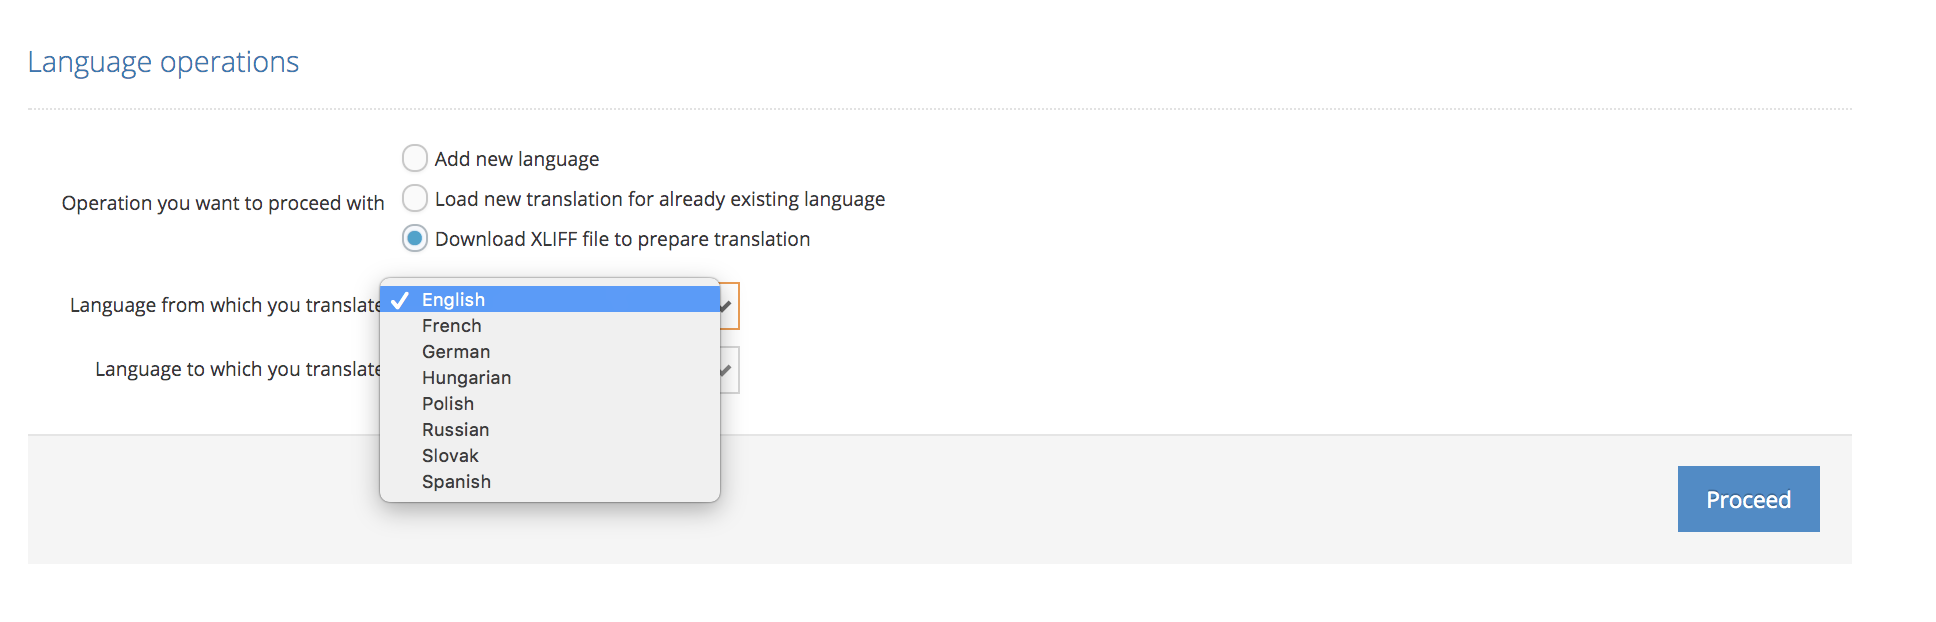
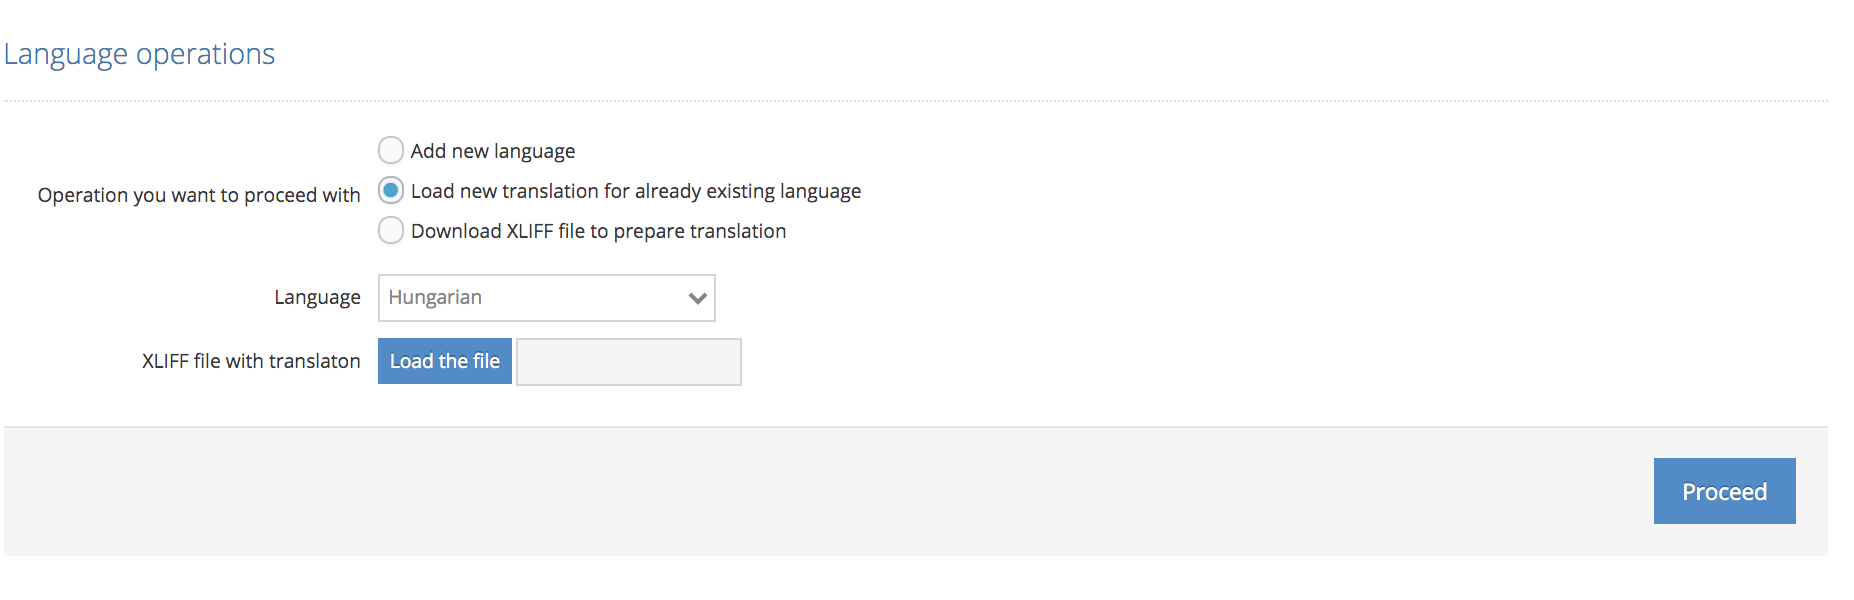
In ADMINISTRATION> Language and translations in the section Language operations download the file on the basis of which you will perform the translation. You can choose from all the languages that are defined in the section Language management.
Step 2: Prepare your own translations of Booking Engine and IdoBooking website in the selected language
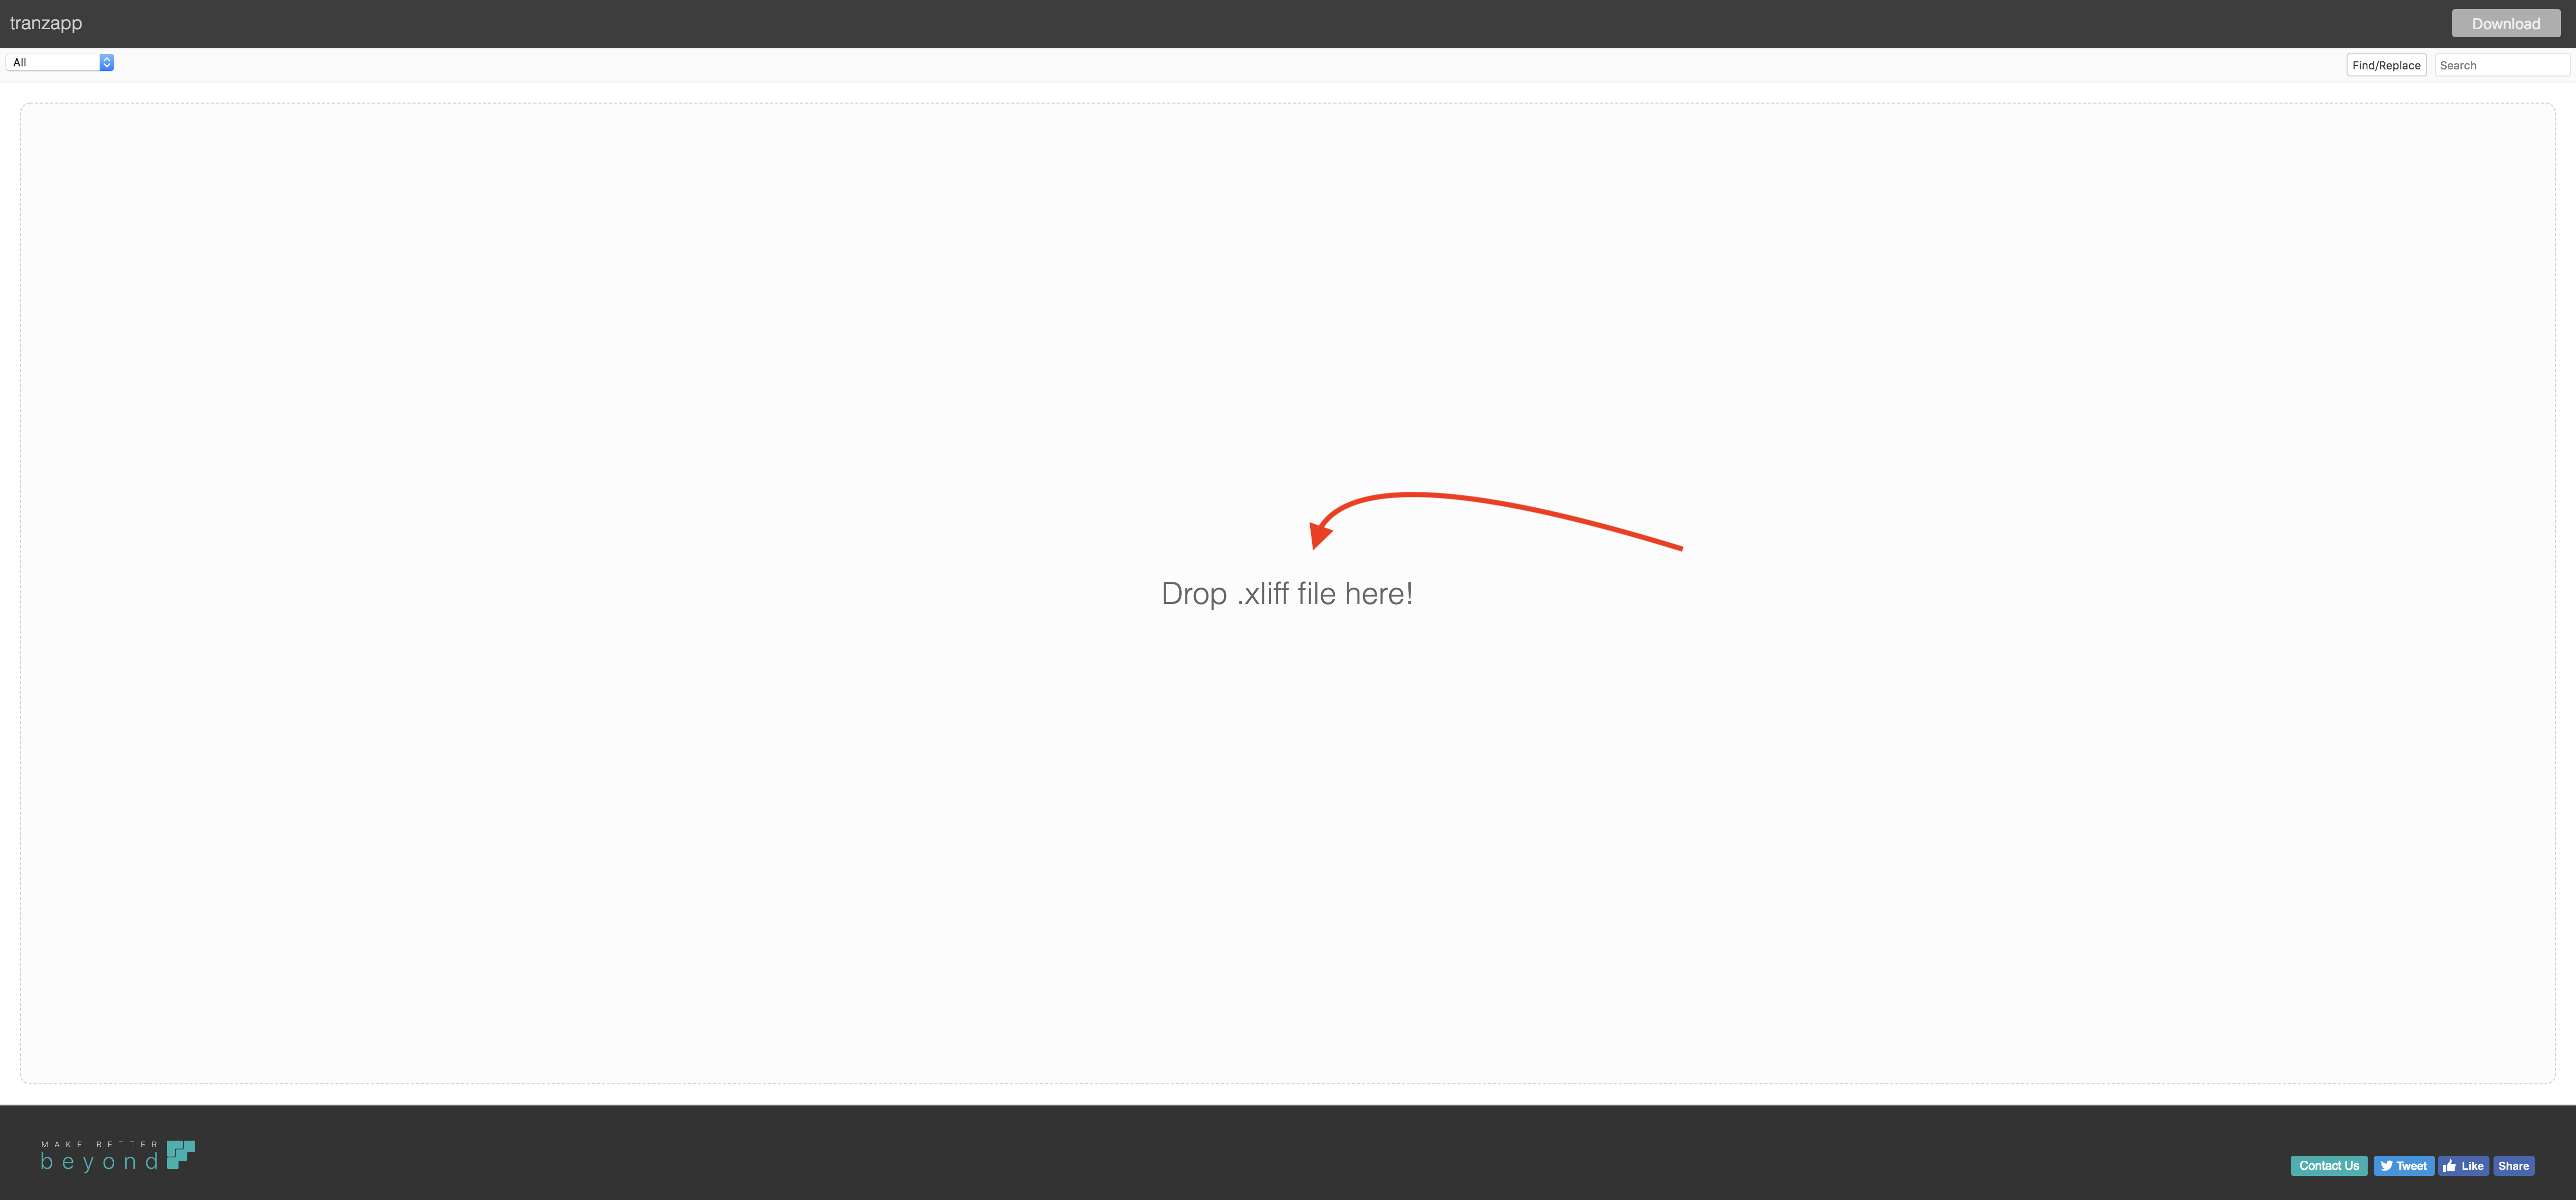
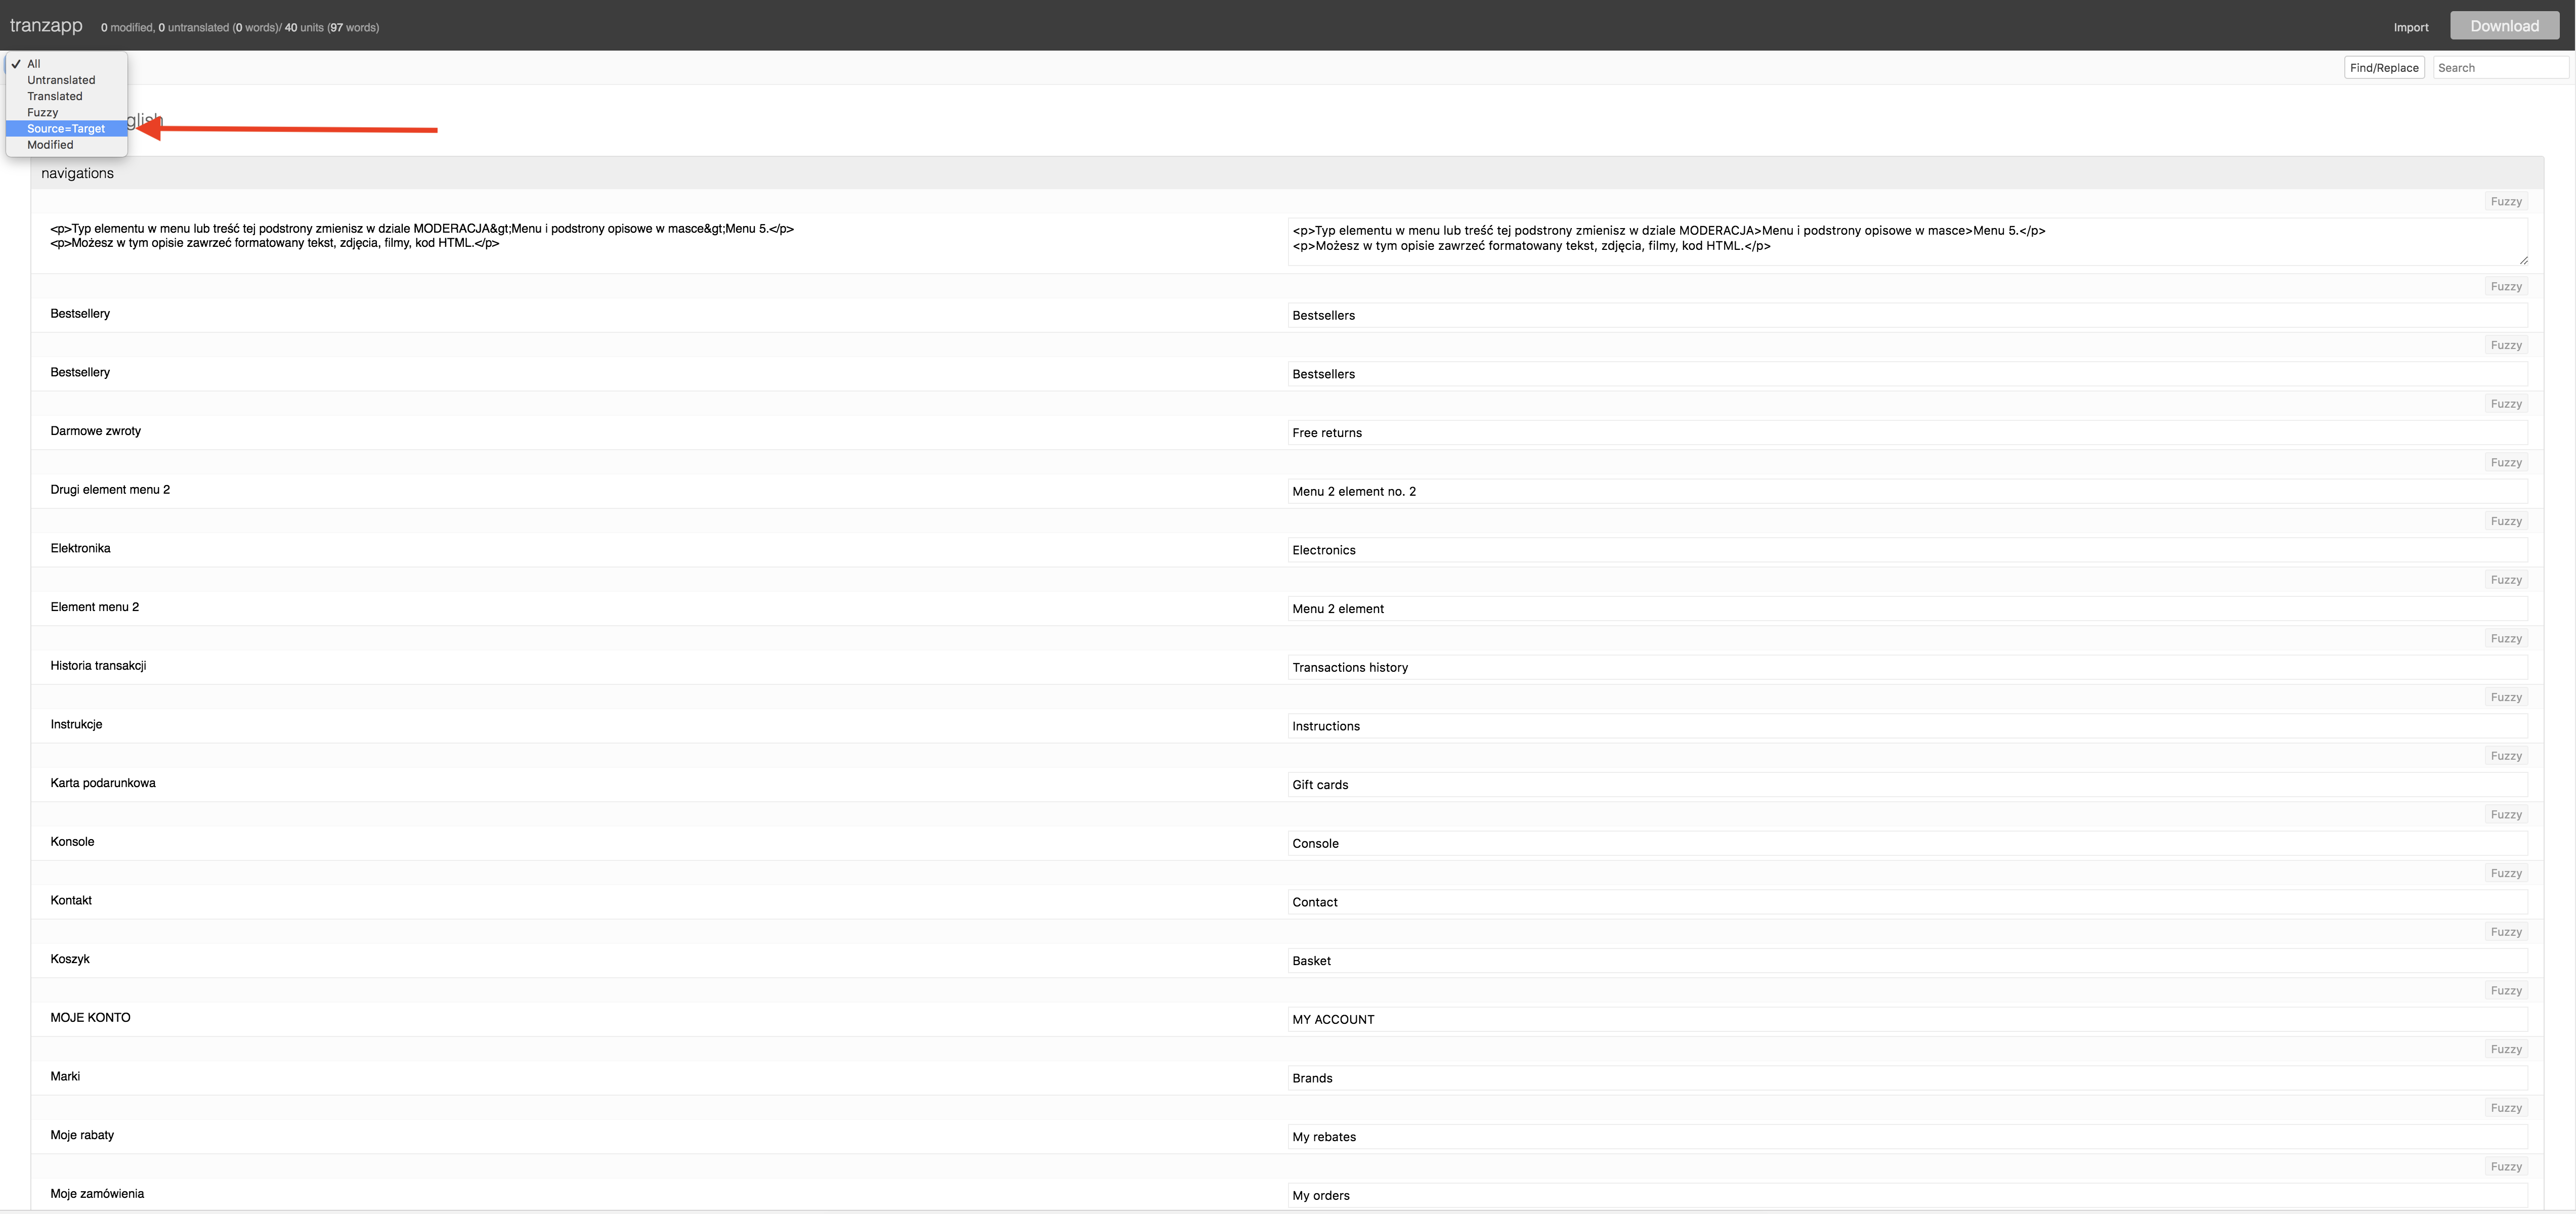
In the downloaded XLIFF file you will find all the texts used in the interface of Booking Engine and the templates our websites.
We recommend using one of the free, web-based tools for editing XLIFF files for translation:
- http://www.beyondf.com/tranzapp/translate/ (registration is not necessary, you can start translating the texts at any time),
- https://poeditor.com/projects/ (account registration is required, a completely free version is available, the application is very easy to use),
- http://xliff.brightec.co.uk/ (the application is very easy to use, you need to login with a Twitter account to export the translation).
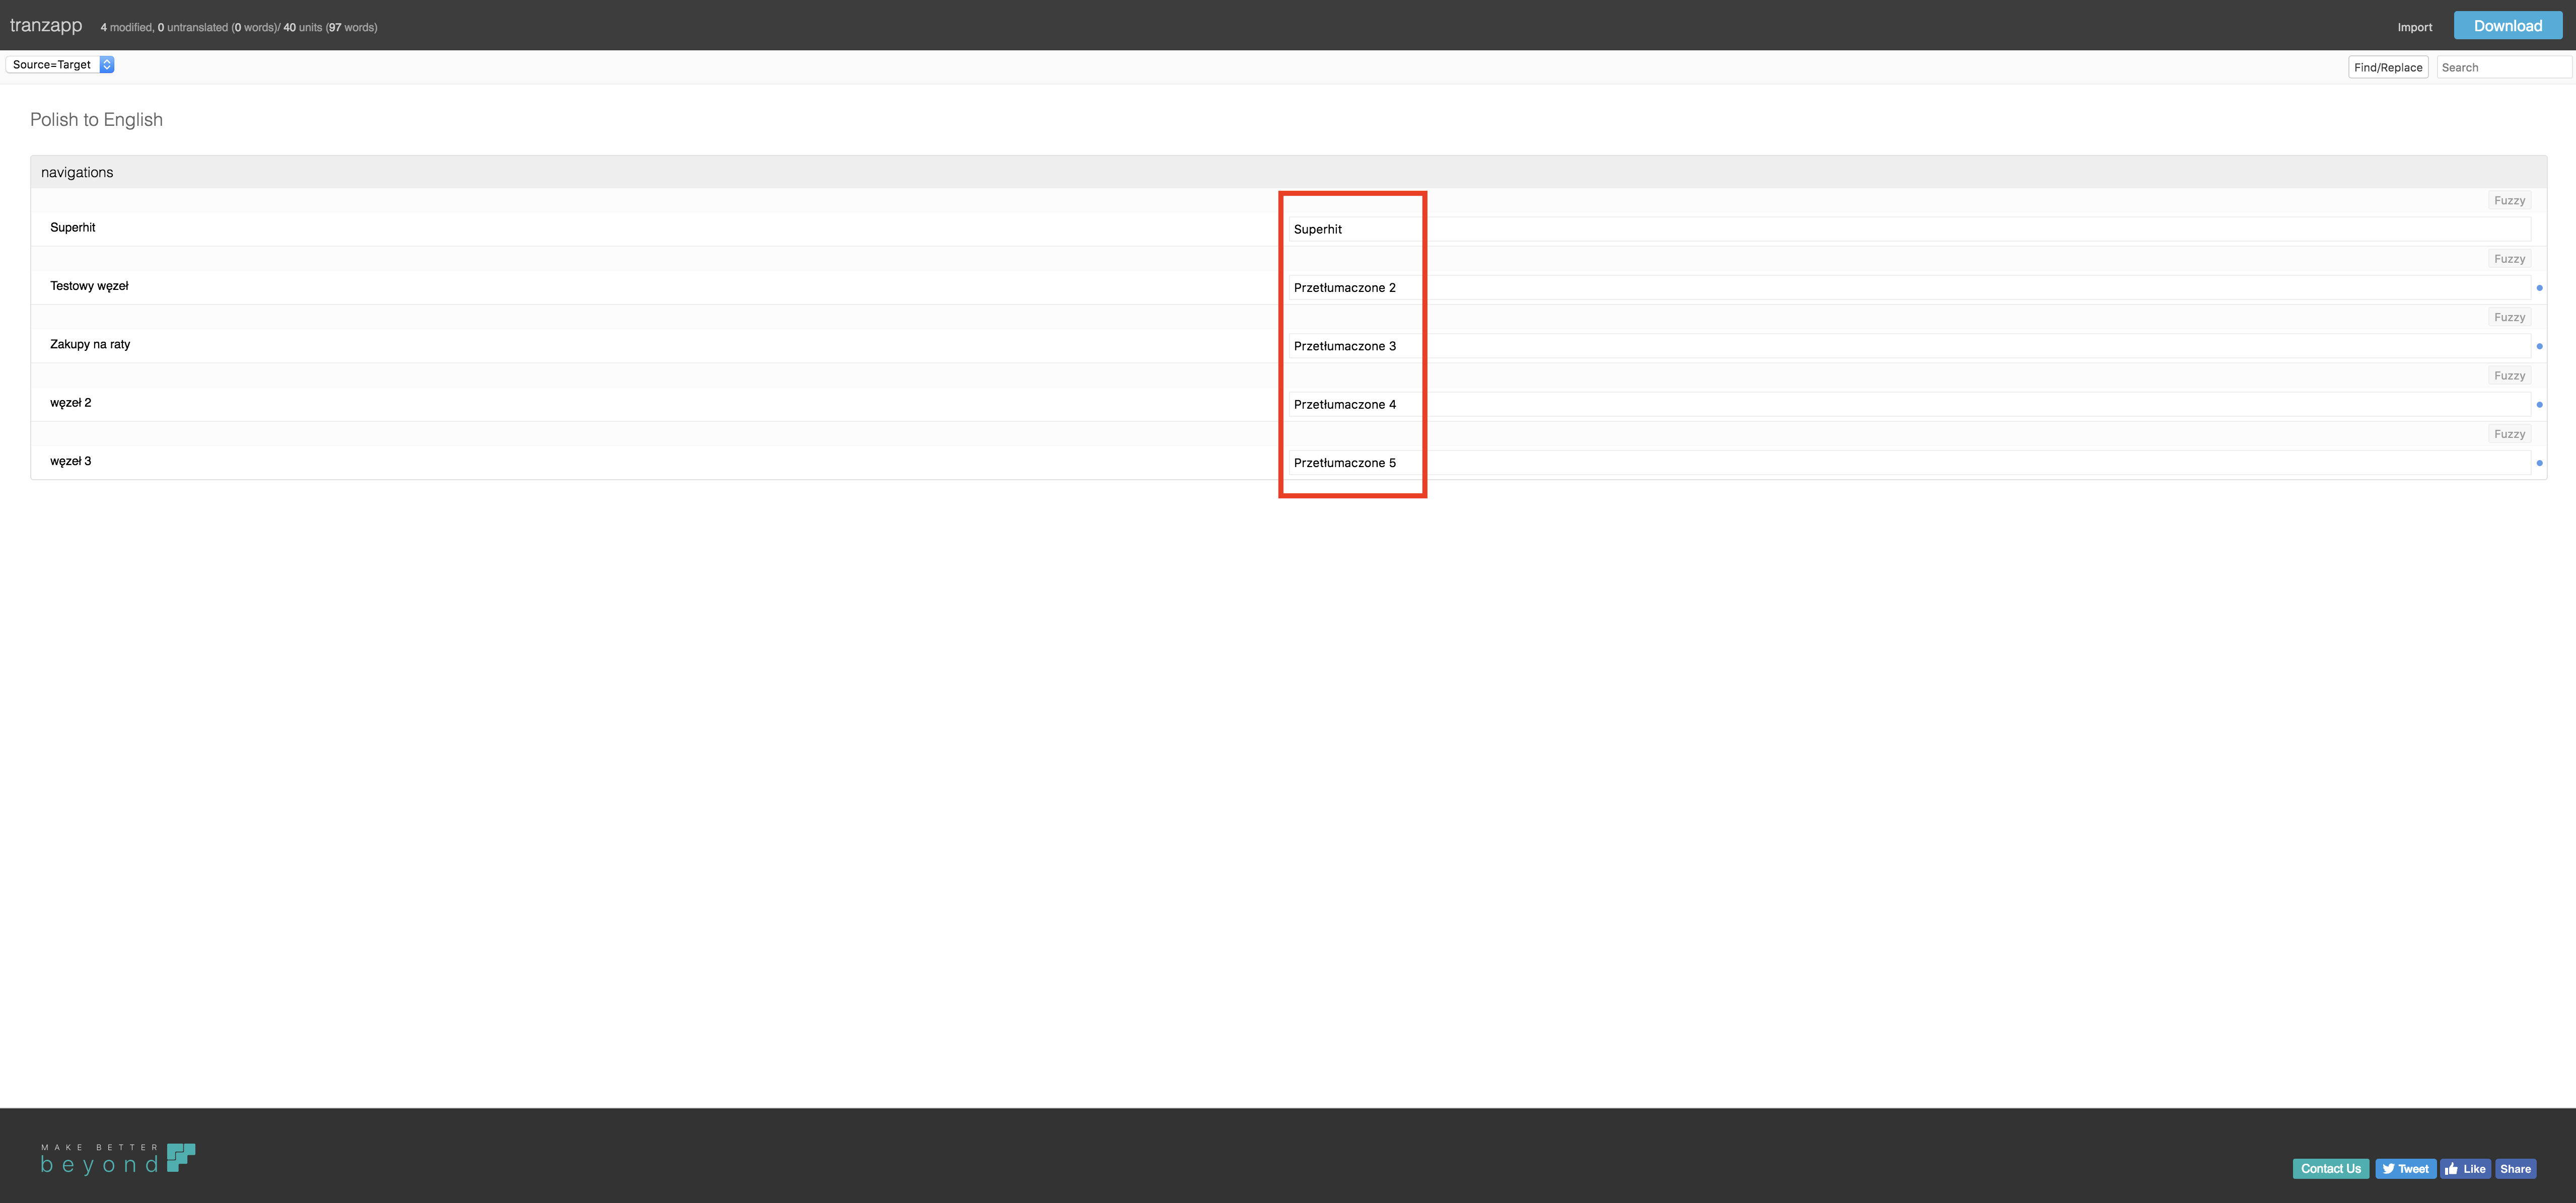
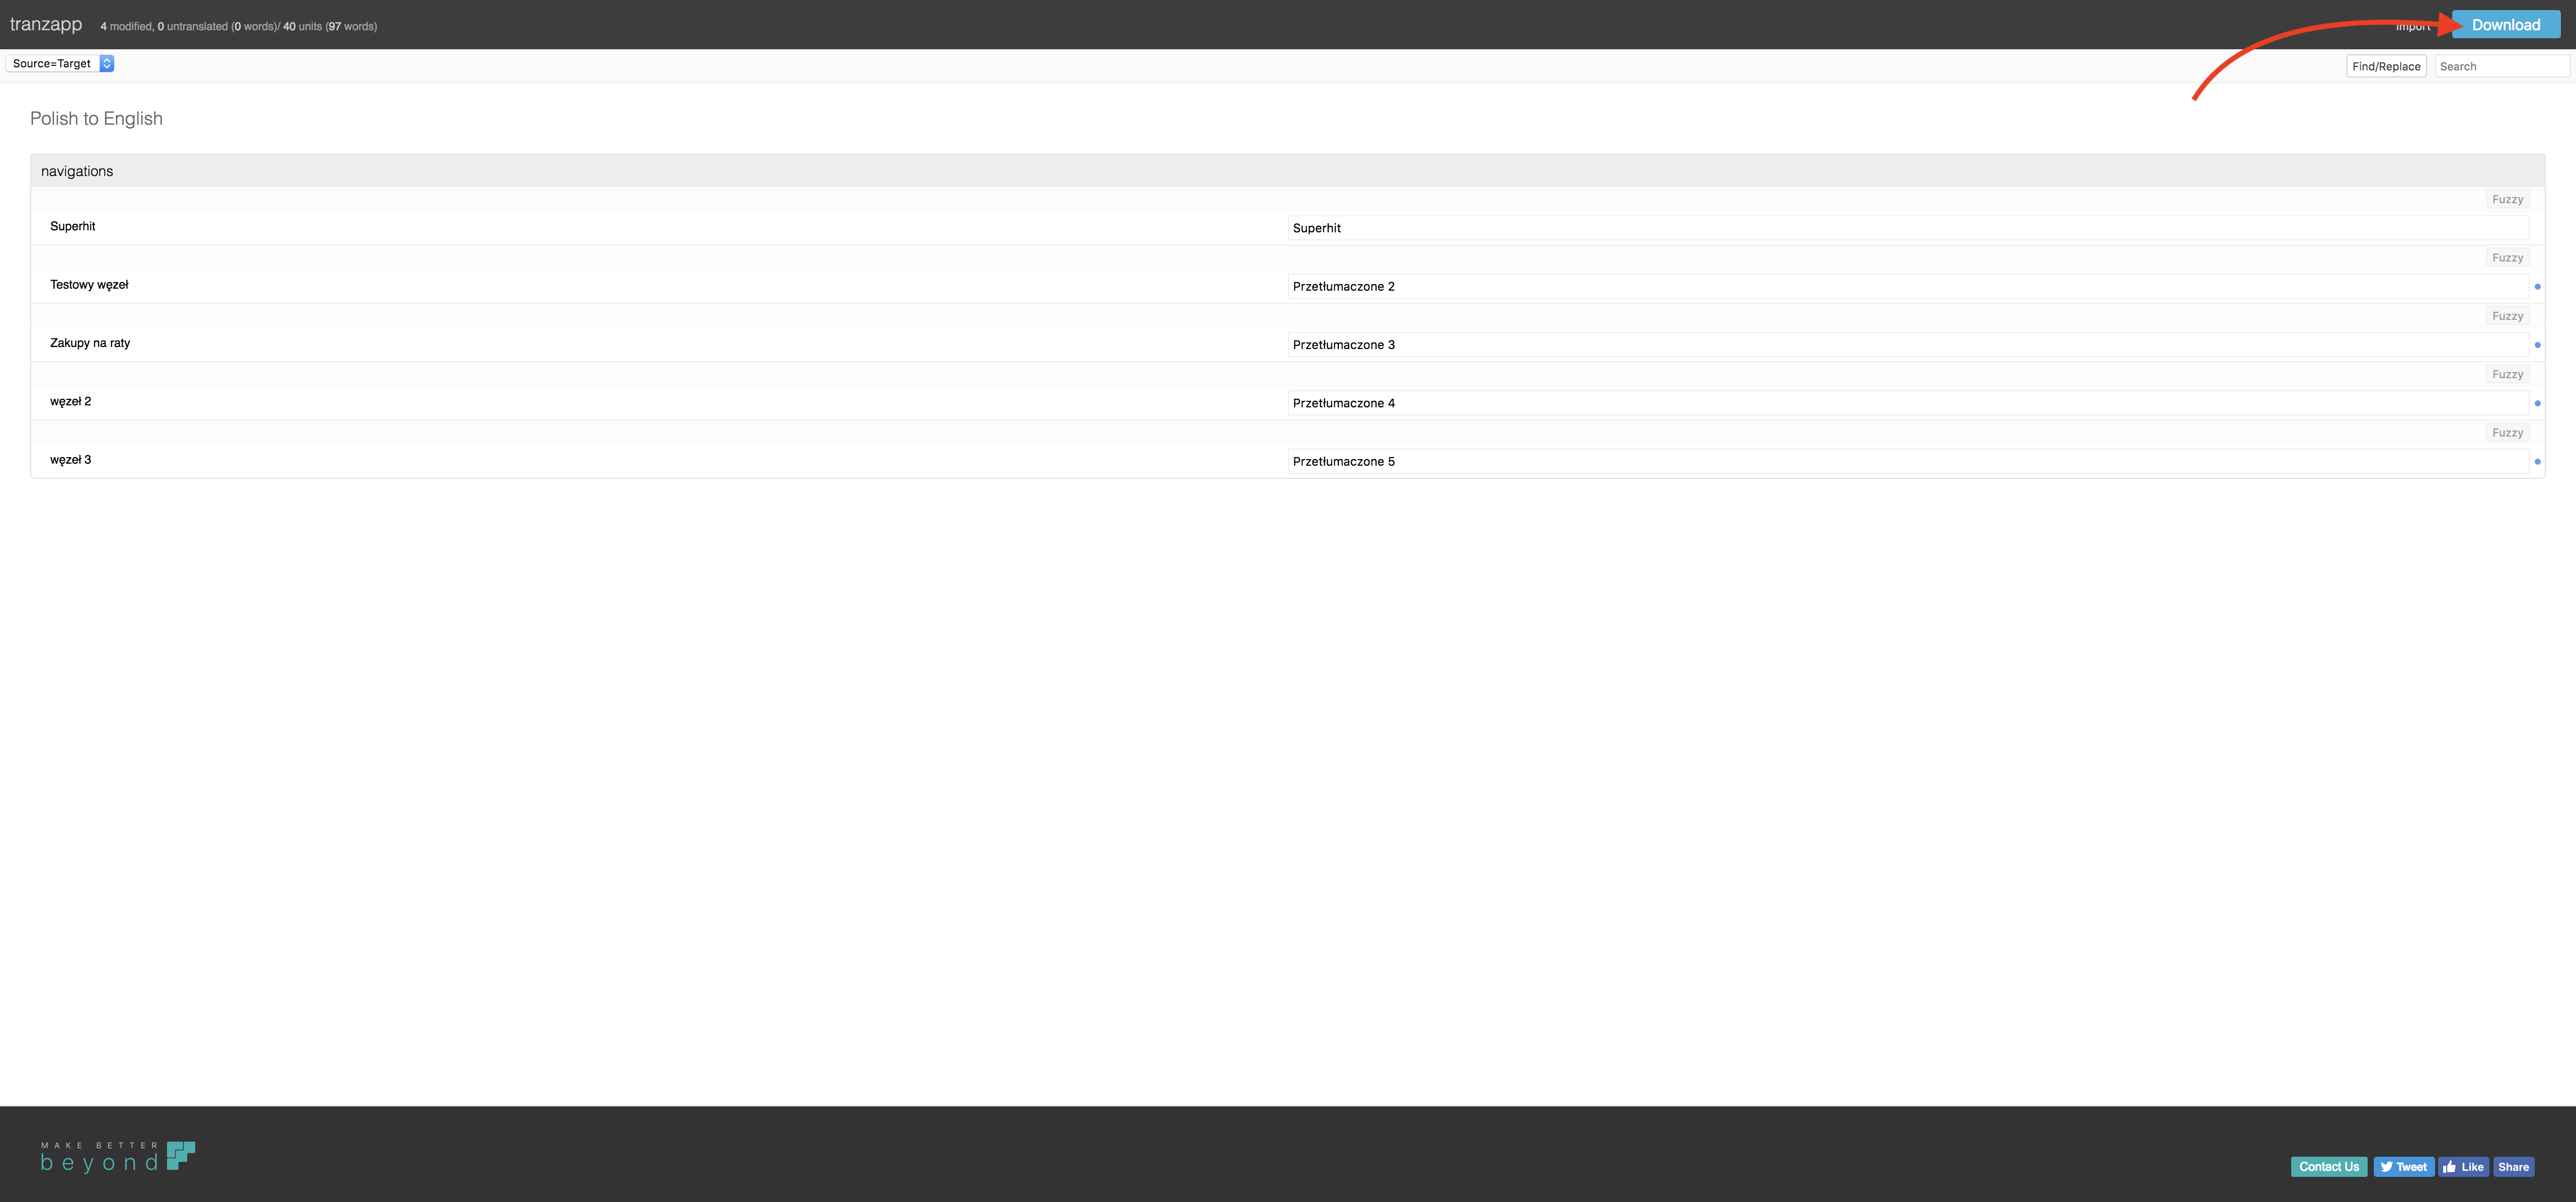
Step 3: Add your own language version
After entering and saving the translations in the file, select the option 'Add new language' and load the file with your translations
step 4: Activate language on the website and in Widget
After selecting the checkbox in the column Active in the Widget and 'Active on the website', the newly added language will be visible in on your IdoBooking website and in Booking Engine).
Step 5: Translate your own content in the admin panel
If, when adding a new language, you selected manually entered content translation mode, a tab for a new language version will appear in all places of the panel where you enter your own content. To help you get it started, all content will be copied from the first language version in which you started setting up the system. For a table of contents to be translated, see ((knowledge-base/panel-configuration/languages| the main language management guide)).
Examples of places with tabs: